
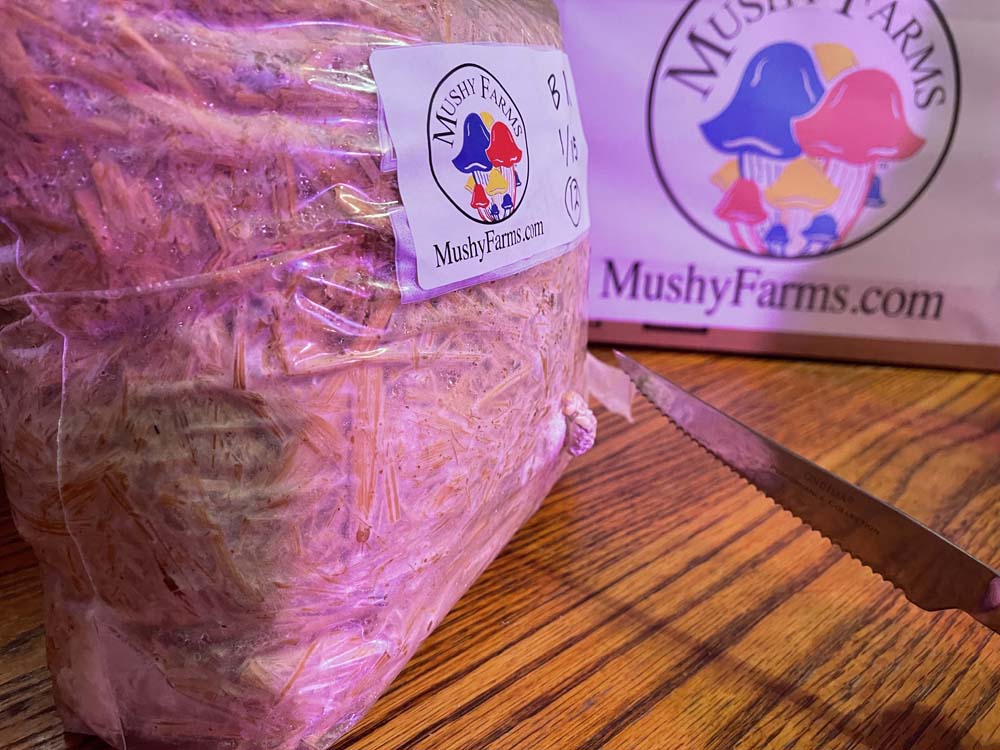
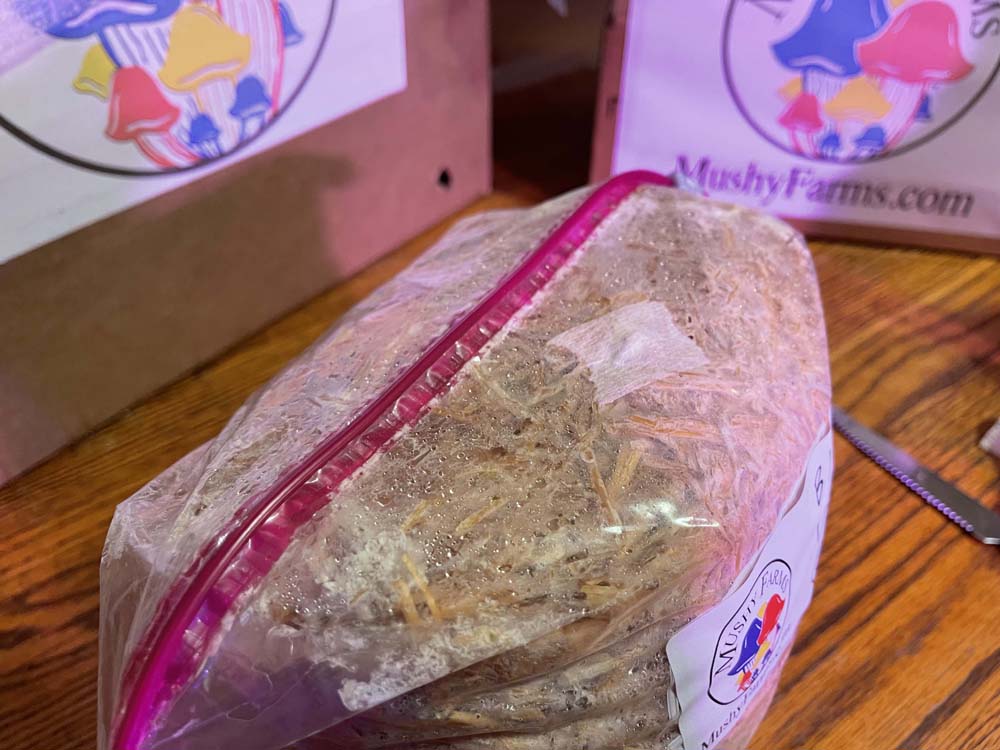
The hard work is done. You have ordered one of our ready to grow mushroom bags, and the substrate is ready to fruit! Three primary factors will control the success of a grow; temperature, humidity, and fresh air exchange.
Temperature, Humidity, & Fresh Air Exchange | The Mushy Trinity

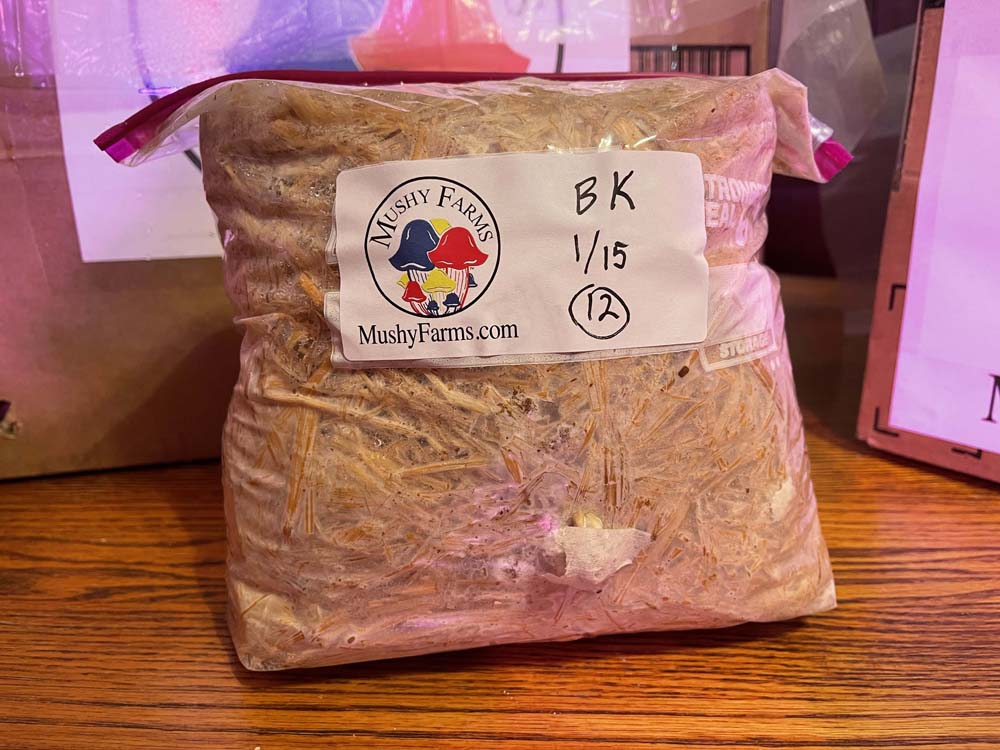
Every strain of mushroom has a different desired trinity of temperature, humidity, and fresh air exchange. Some strains of mushrooms are very difficult to grow. Some are very easy. The Blue King Oyster should be a favorite for beginners on a minimal budget, but because they are a new hybrid mushroom, there really is not a lot of information available.
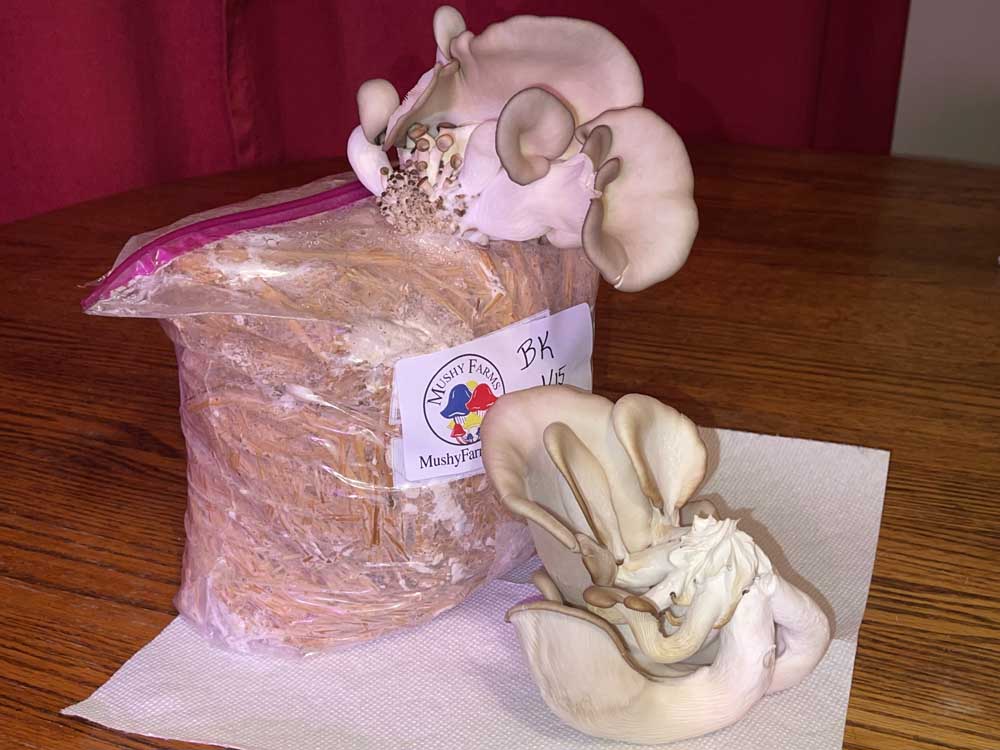
Growing The Blue King Oyster Mushroom!
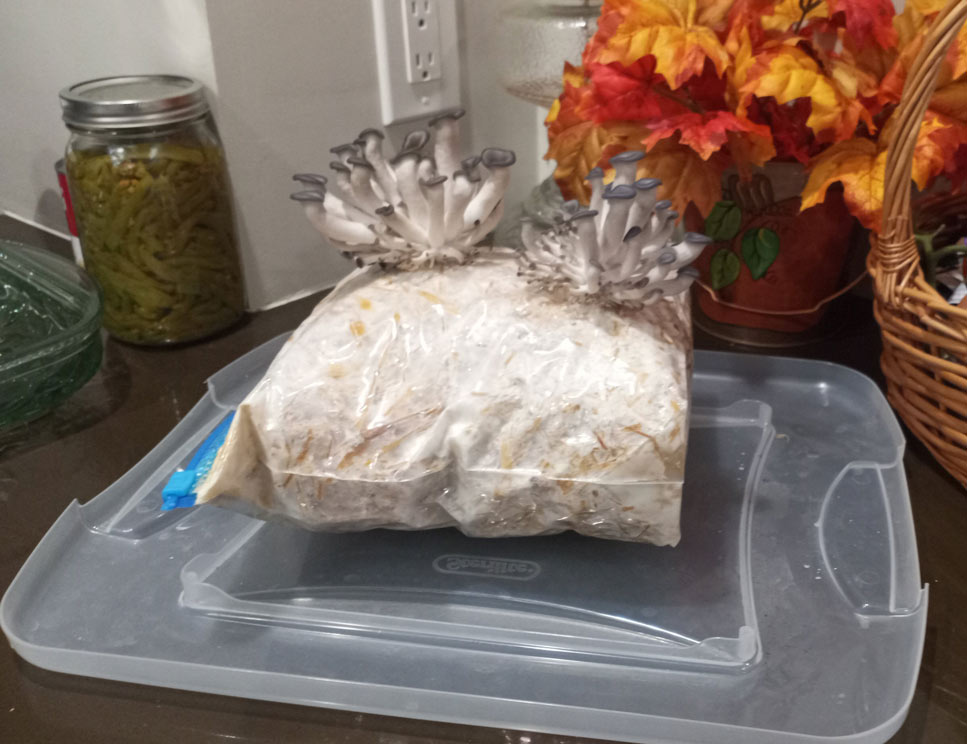
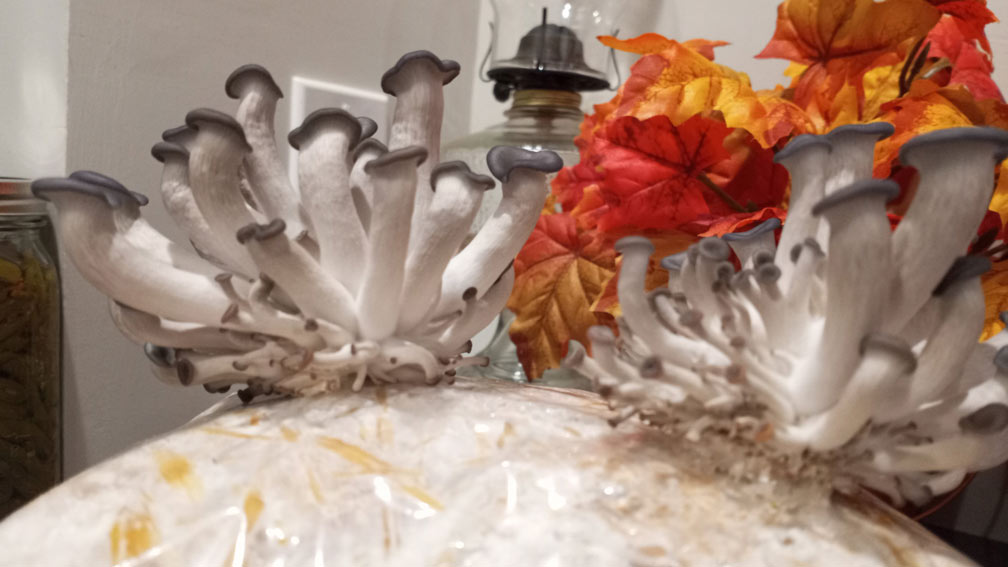
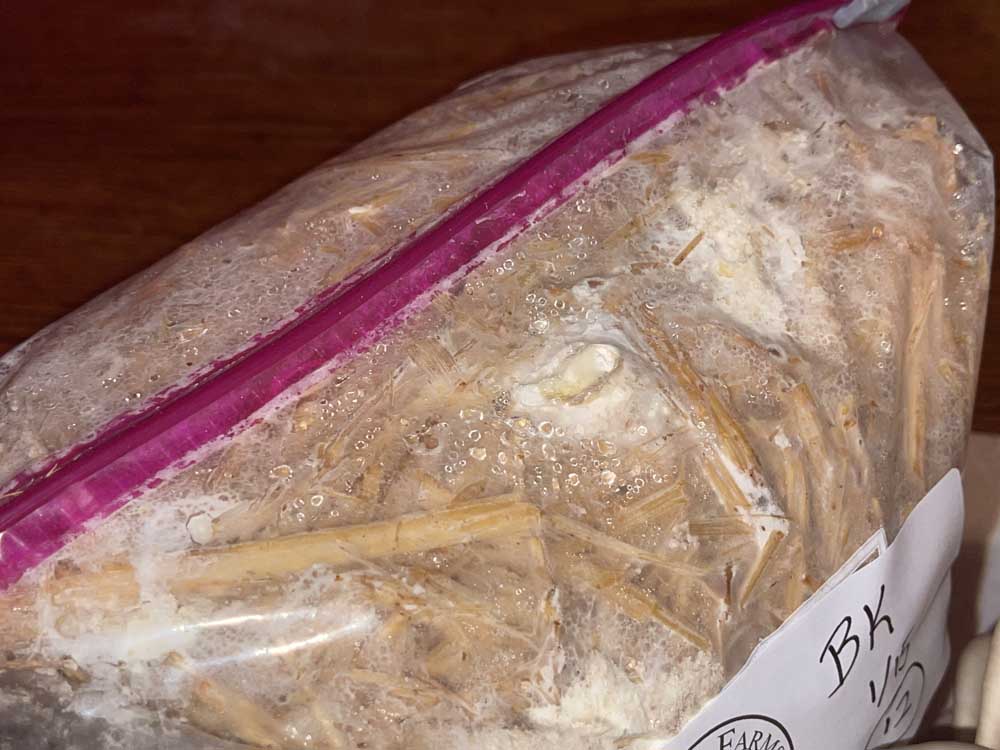
The Blue King Oyster is special for many reasons. One really cool reason, Blue King’s develop fat, meaty stems, and small caps when grown in a high CO2 environment. “High CO2 environment” is another way of saying an environment with relatively low fresh air exchange. For those without more advanced set ups, this means only fanning the growing chamber a couple times a day.
Pearl oysters require lots of fresh air exchange. If using the cardboard box mushroom growing chamber described below you will need to set your alarm clock to wake you up every couple hours to mist and fan your growing mushrooms 🙁
A lot of farmers would recommend beginners start with Pearl Oysters, but we think the new hybrid Blue King strain can drastically beat the Pearl in terms of input costs to output. The small grower without fancy fans and humidification systems can still successfully grow abundant mushrooms in a small space at room temperatures (65-75 degrees F). We will explain more as we continue below.
The cheapest way to grow… A box with holes and a clear garbage bag… A little better. A Martha Tent. Even better. A Martha Tent with humidity controls, fresh air fans on timers, and exhaust ducts. Next we could add temperature controls. From there, it’s easy to scale up.
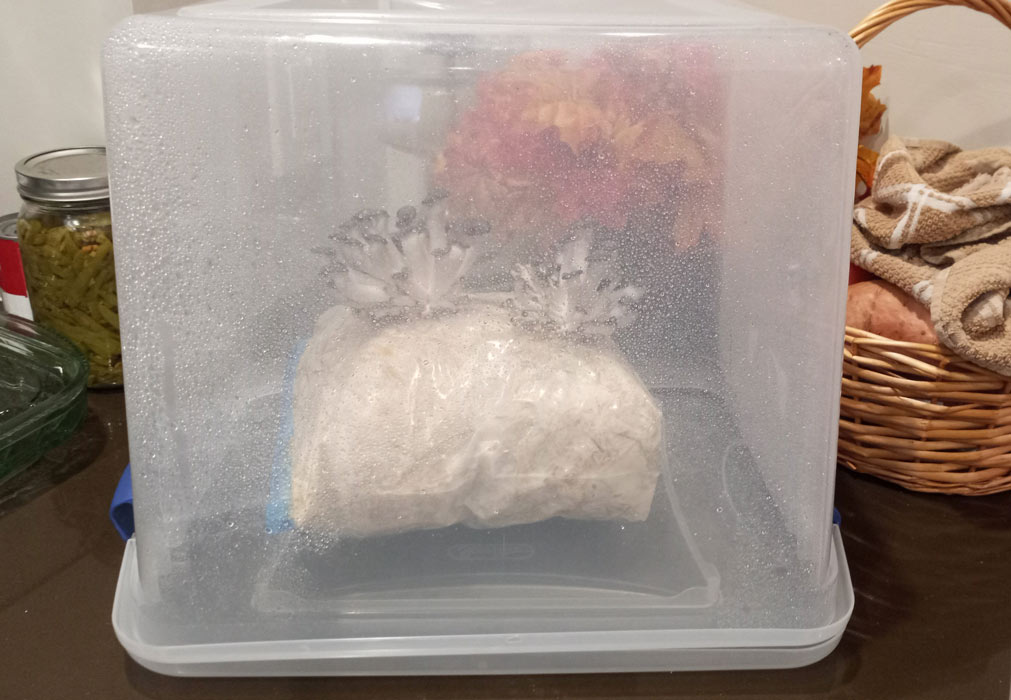
The blue king oyster will grow great in a box with a garbage bag on top. Again… Pearl oysters need more free air exchange to grow and typically won’t do as well in this configuration.
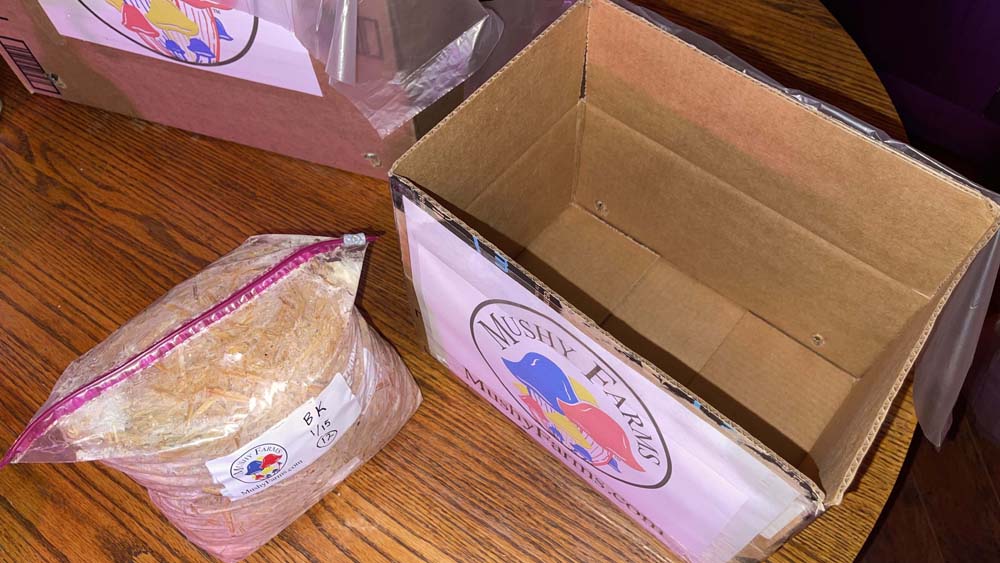
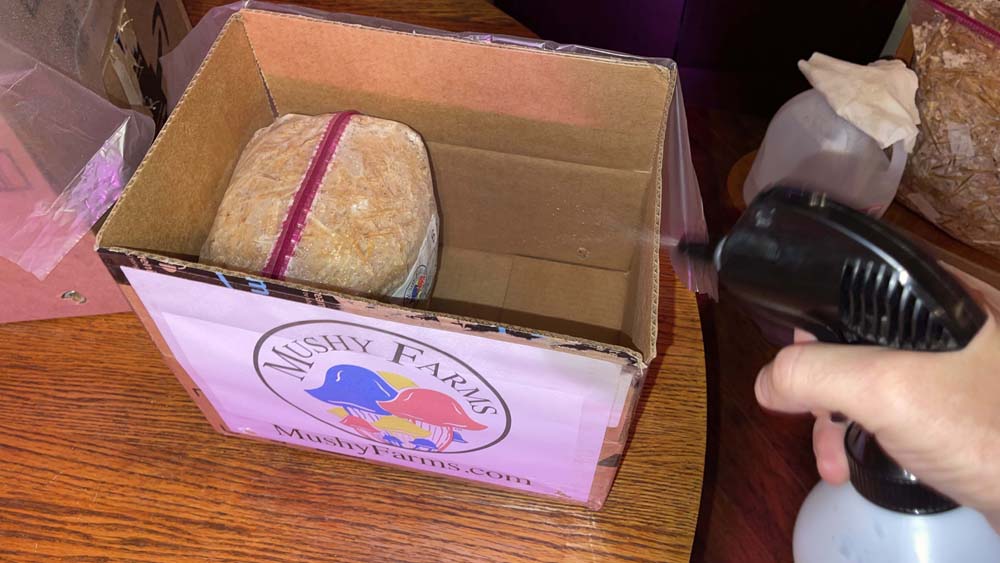
How to grow mushrooms in a cardboard box 🙂
A box, bigger than the grow bag, will need four holes cut into it, one on each side, about 1 inch circle, a couple inches from the bottom of the box.
Release the Mushies!
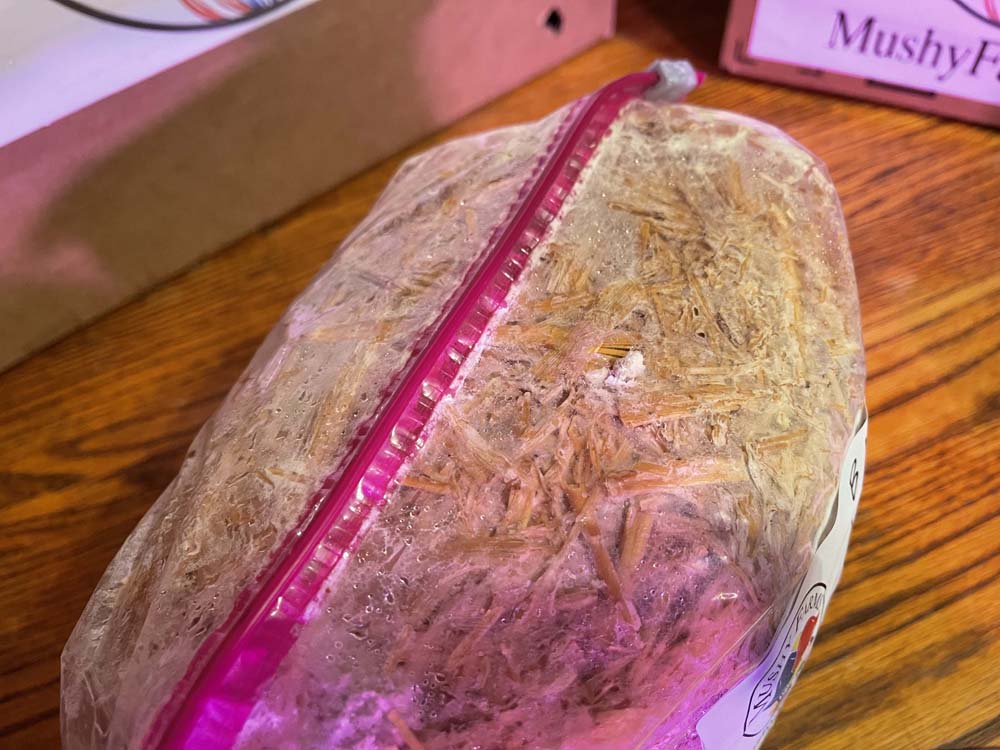
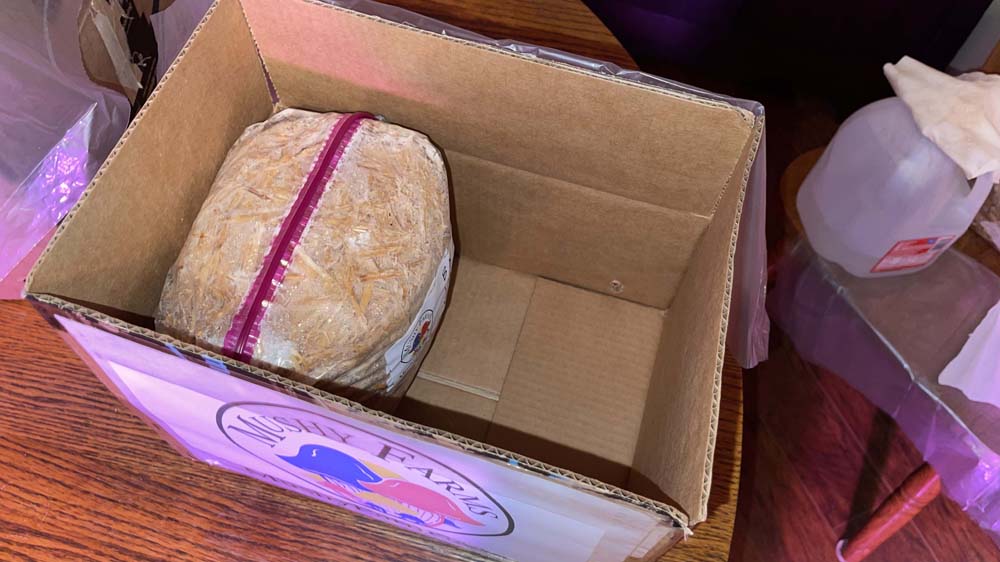
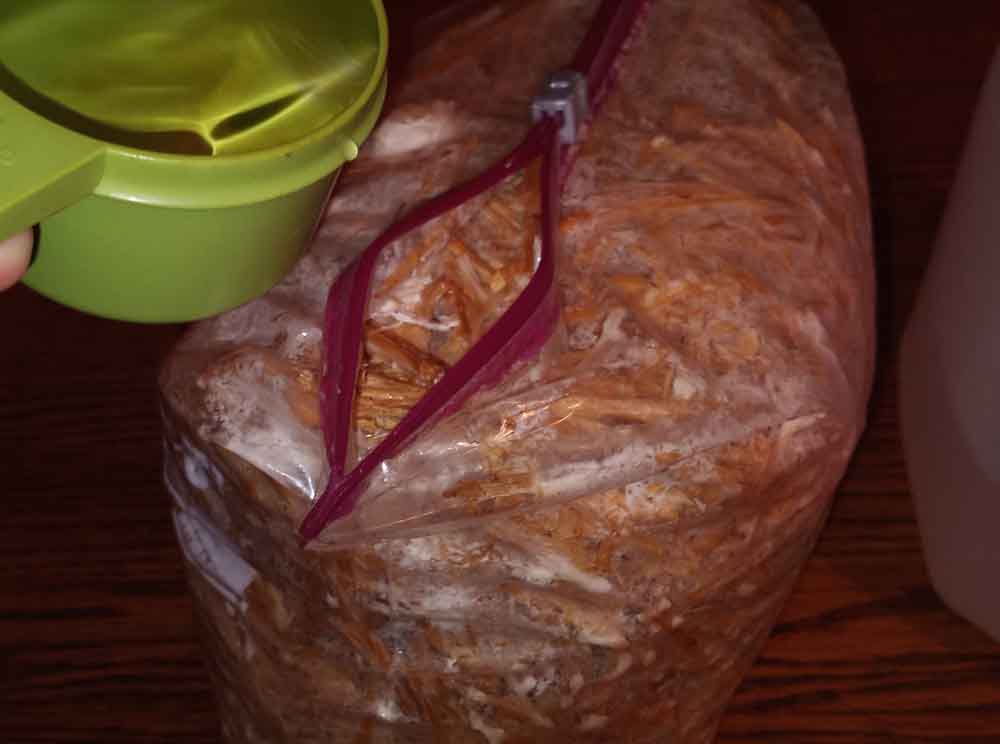
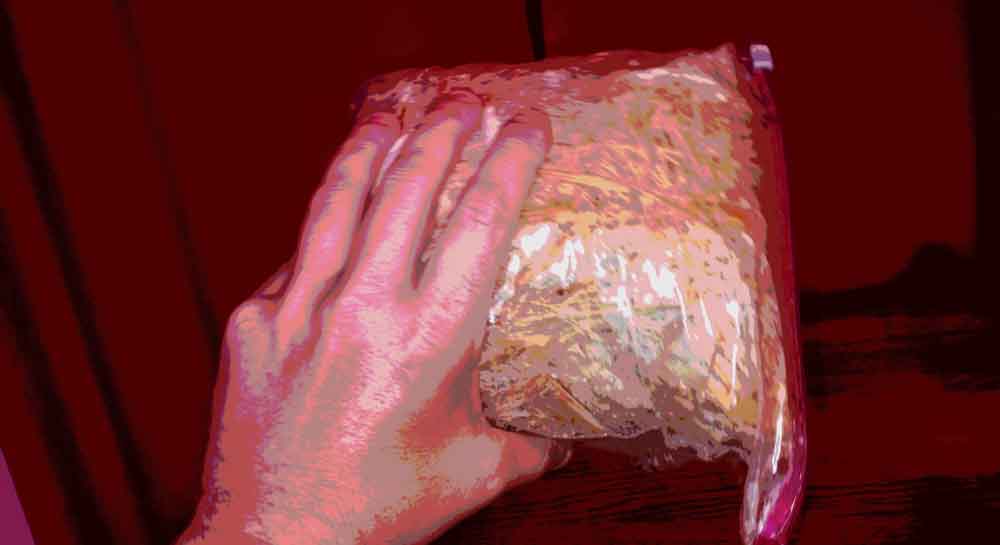
Remove the tape from one of the holes in your grow bag. Make sure the hole is about the size of a penny. Place the bag, with the uncovered hole facing out/ up, into a box with thin plastic sheeting on top.
Simply mist with water and fan a couple times a day 🙂
Now we need some patience. Maybe…
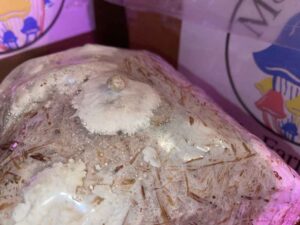
Sometimes a mushroom bag will begin growing mushrooms before you are ready and other times it can take some patience before the first set of pins begin to show. To help promote fruiting, specifically the Blue Kings, a couple days in a refrigerator can help. It may also help to keep your spraying water in the refrigerator. If tape is removed from a hole in the grow bag, cover with plastic or towel while in the fridge to prevent drying out the substrate.
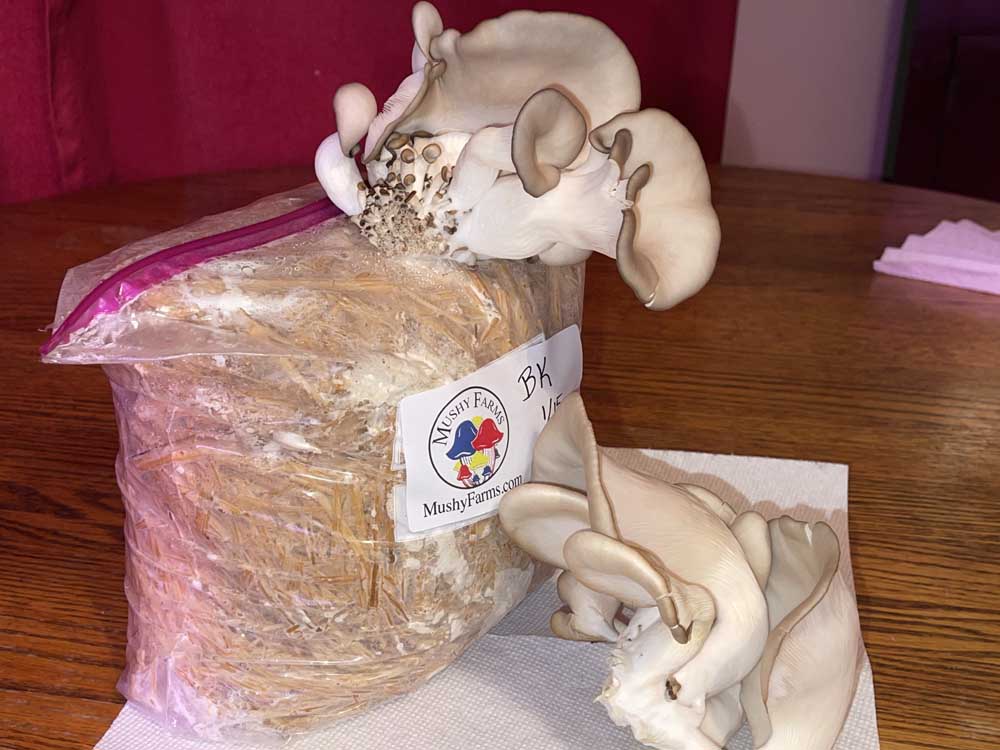
From Pinning to Harvest
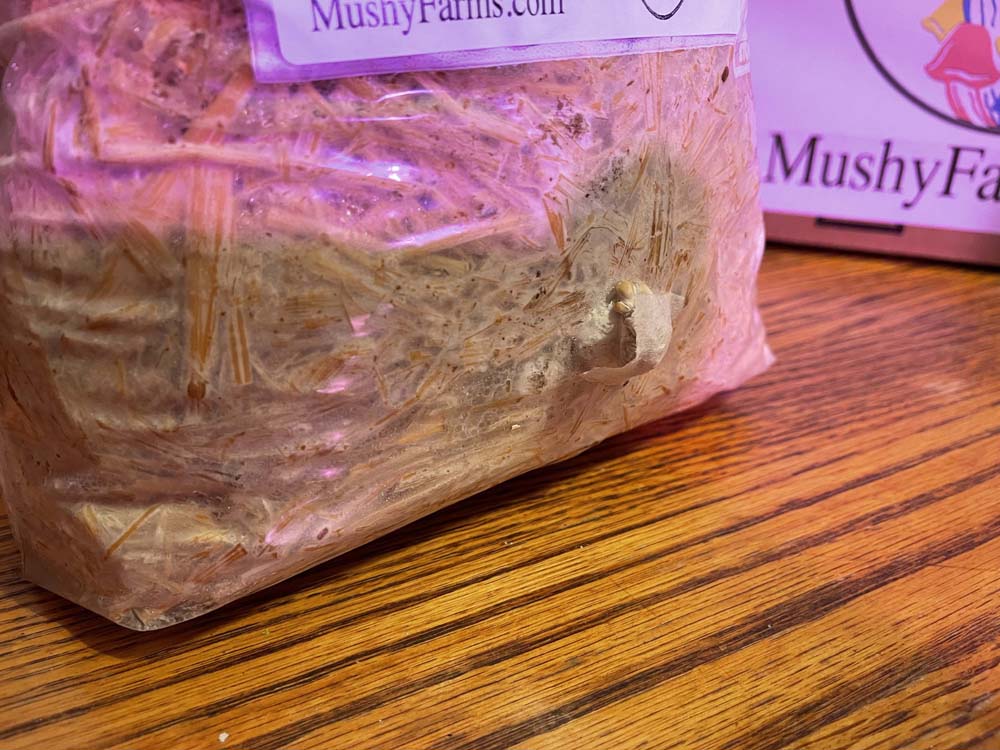
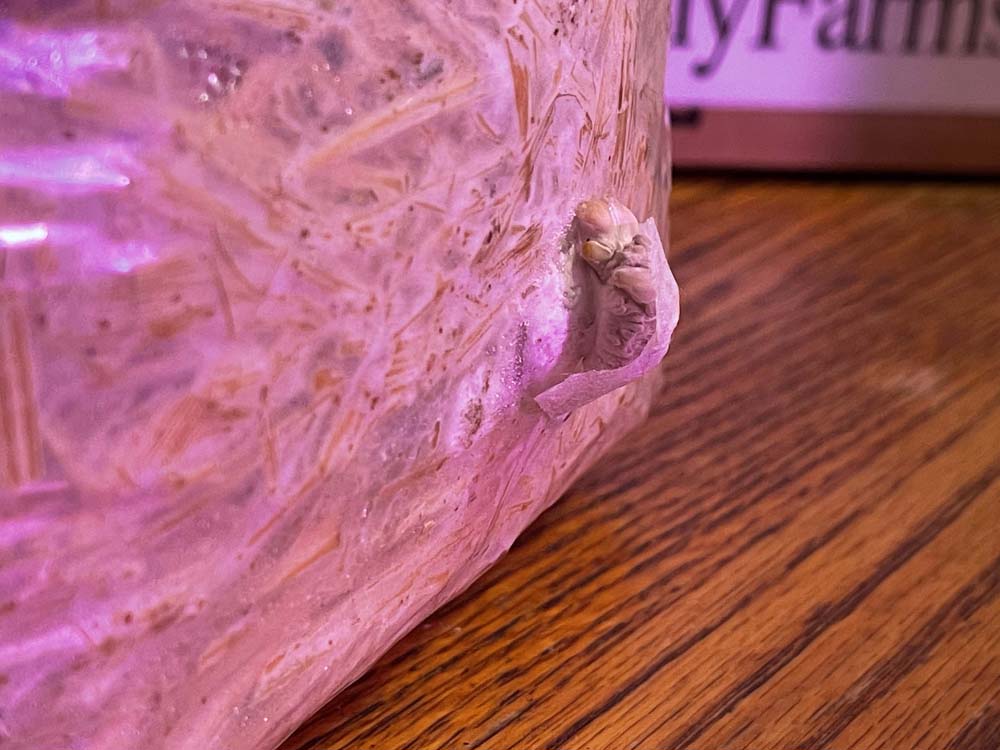
It won’t be long before pinning will begin where you removed the tape. Continue misting and then fanning the grow chamber at least twice a day.
Try not to spray water directly on the mushrooms. Just dampen the inside of the cardboard box. With pearl oysters there needs to be much more free air exchange to maximize yields which means much more spraying and fanning.
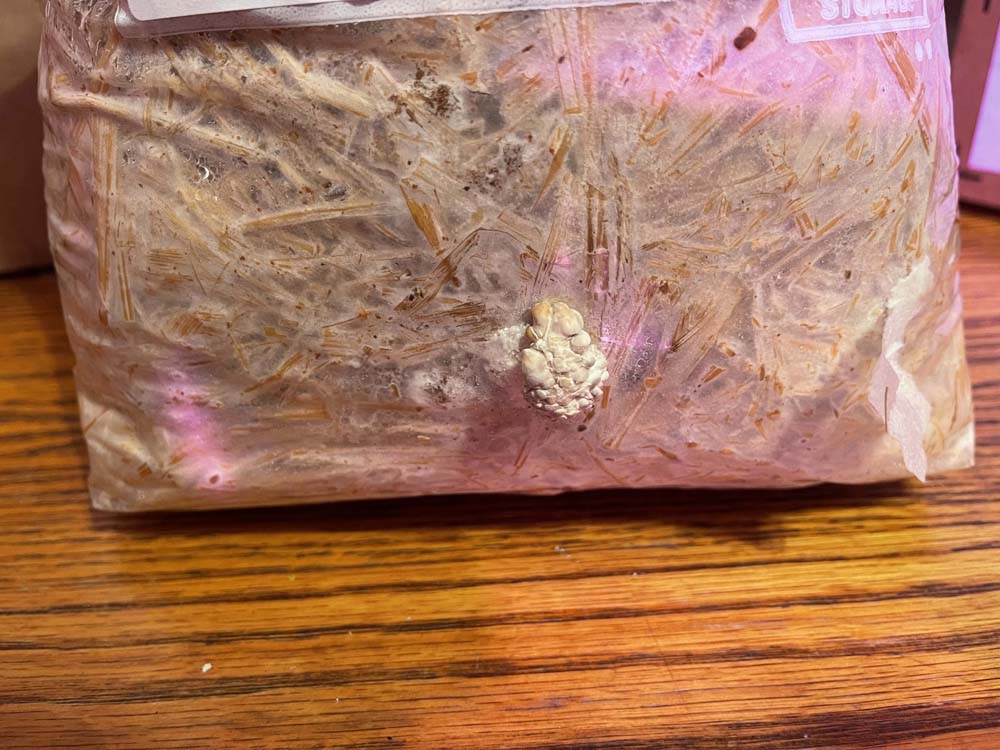
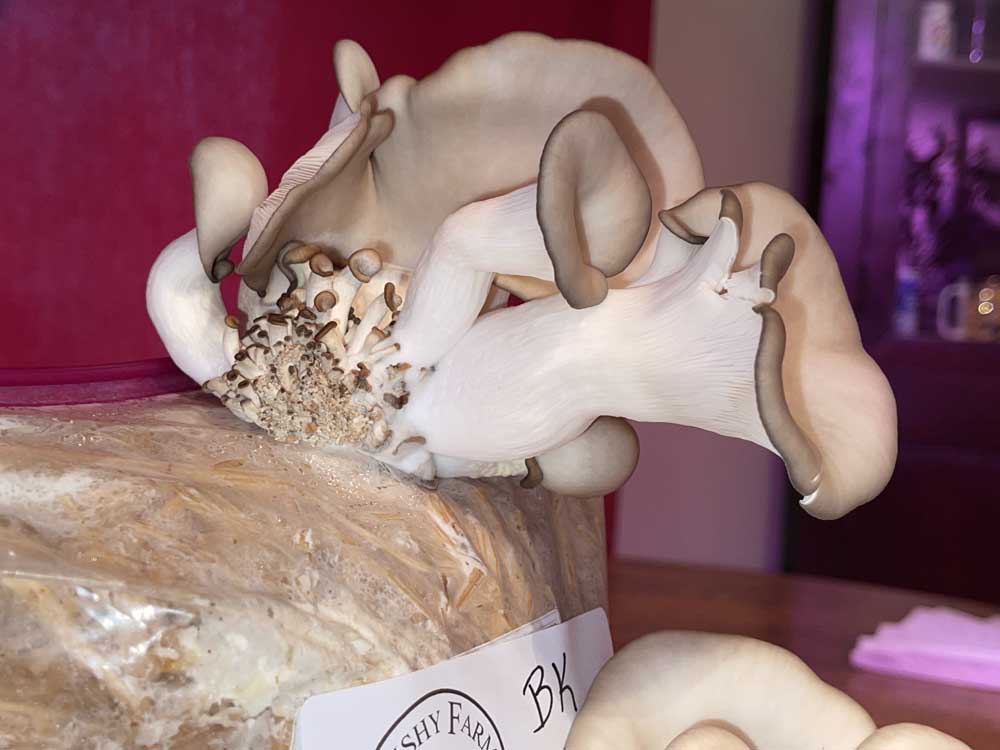
Pins, Pins, Everywhere Pins!!!
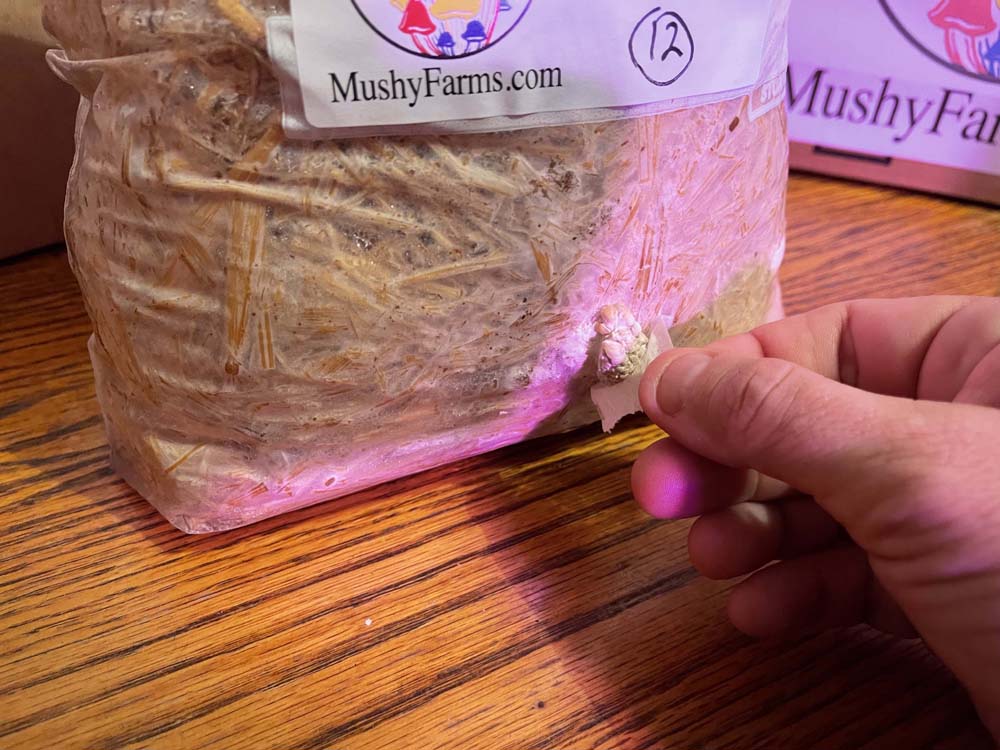
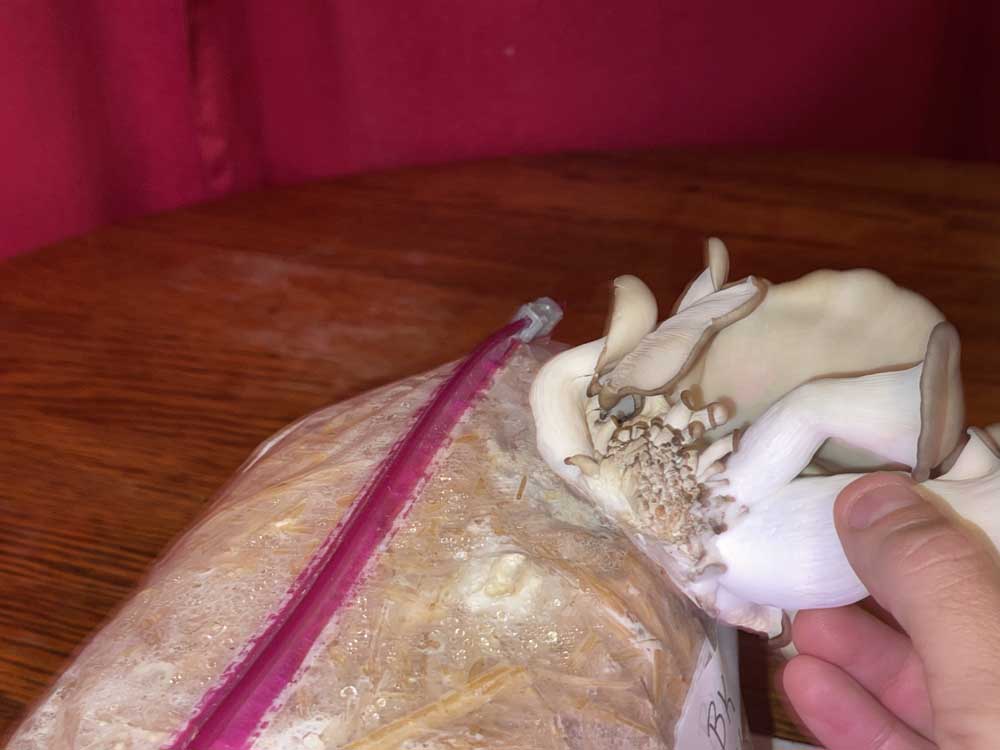
Sometimes pins will push their way out of the grow bags where we don’t want them to.
Don’t worry. This is great news. Simply remove the tape from pins you want to remove. Cut the pins off. Replace the tape.
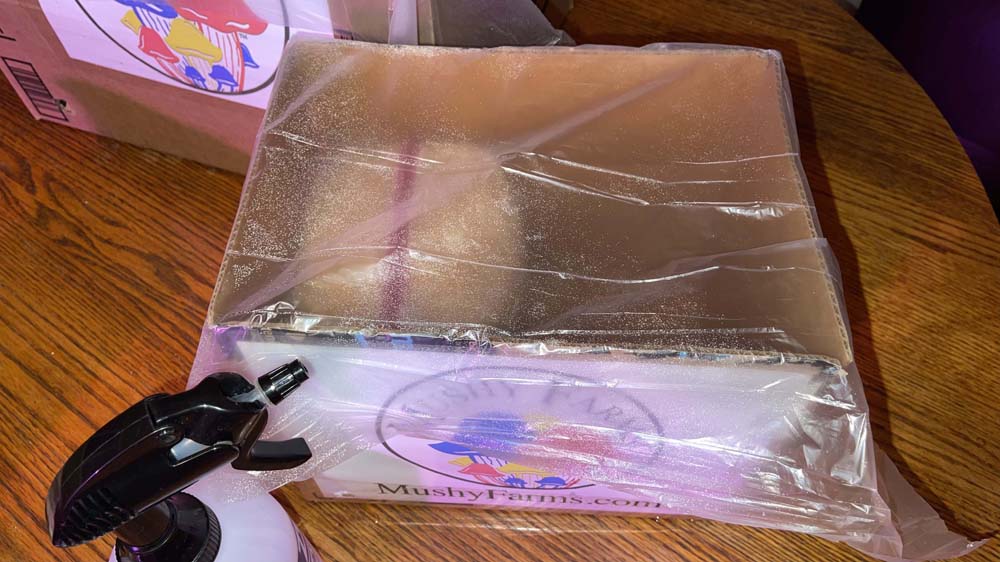
Like humans, mushrooms breath in oxygen and breath out heavier CO2 gas. The CO2 sinks, exits the holes in the box, and fresh air flows in with oxygen rising up to the growing mushrooms. Using clear plastic sheeting allows enough light to get through and also traps humidity inside.
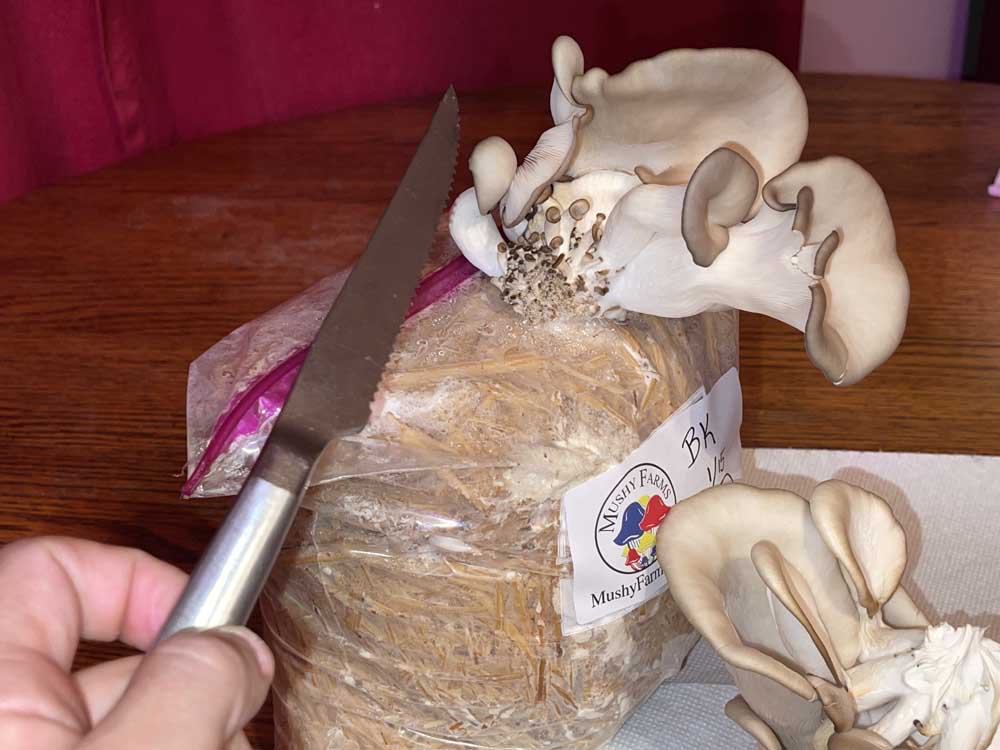
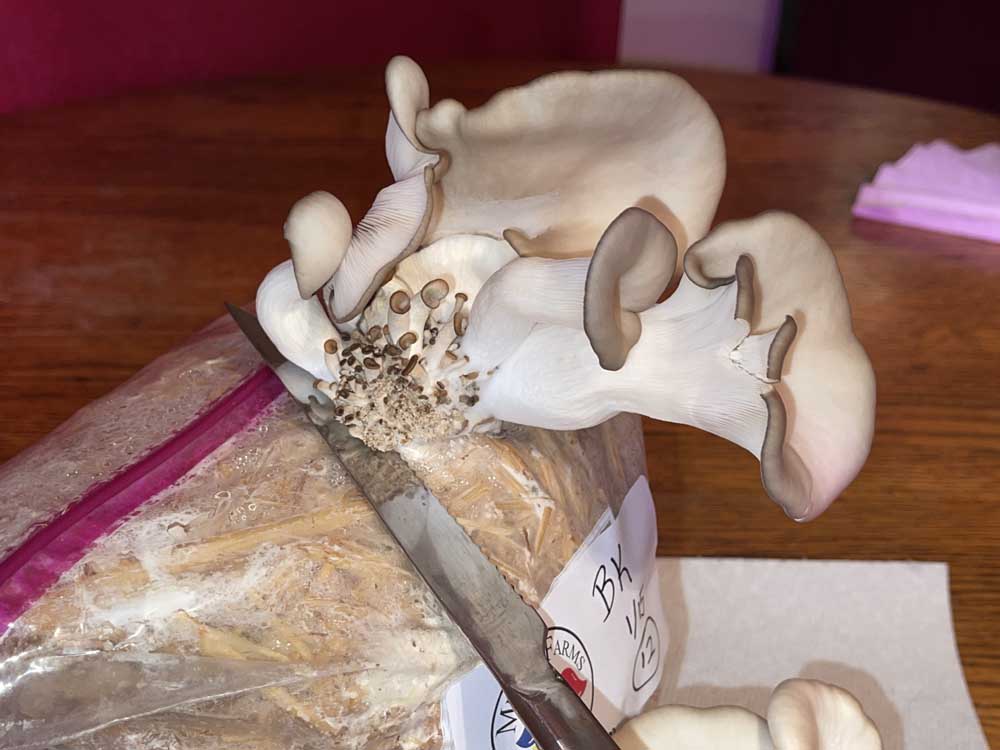
Some people choose to harvest their mushrooms earlier than others. We try to harvest right before the caps begin to split which usually means at least one of the caps has already split 😛
To harvest the mushrooms we like to use a knife to slice off the mushrooms flush to the bag.


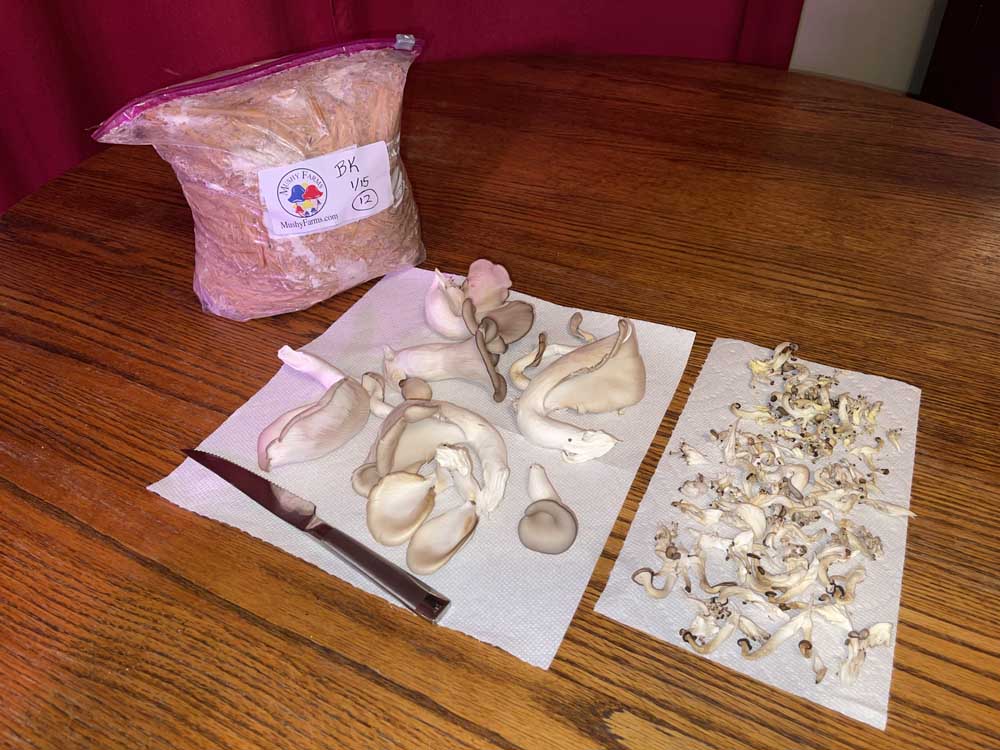
Harvested mushrooms will keep the best in a bowl with plastic wrap draped over them in the refrigerator. The plastic wrap will help keep the mushrooms from drying out.
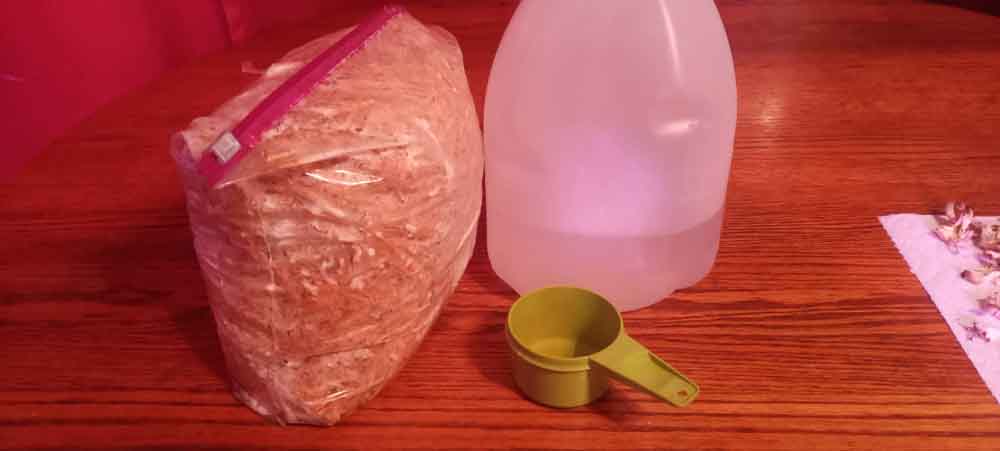
Preparing the bag for the next flush.
We need to add water to the growing bag after each flush. Try to add about the same weight of water to the bag as the weight of harvested mushrooms.
DON’T USE FRESH TAP WATER!
You can put tap water into a container and allow it to sit for 24 hours. This will allow the chlorine to dissipate.
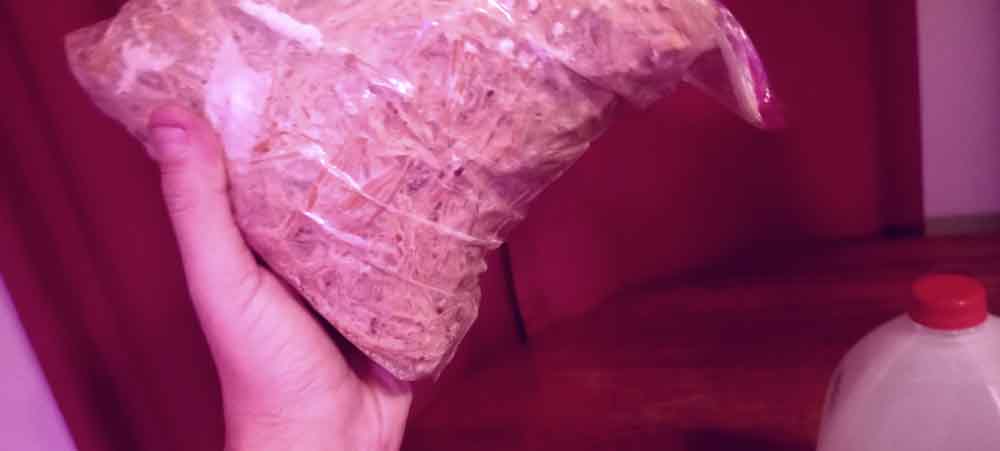
Wait 24 hours after adding water. Reopen the bags and drain excess water if needed.


Now we need some more patience.
Leave the existing hole/s where the first flush fruited open and open a new hole somewhere else on the bag. Sometimes pins will form faster at an existing hole. Other times they will do better fruiting from a different spot.
It can take 1-4 weeks for the next set of pins to begin developing. It is best to mist and fan between flushes just like when mushrooms are growing, but not entirely necessary.
We have had substrates fruit over 3 times in under a couple months. Typically, after the second flush we open the bags and allow fruiting from the open top. Sometimes we cut big V’s in the side of the bag. A stab and twist motion into the substrate with a knife works well. Get creative. Try new things. Let us know what you discover.
Spent Substrate For Soil Amendments and Growing Outdoor Beds
After the mushroom bag has produced all the mushrooms we feel it can produce, the bag can be removed and the substrate ripped apart by hand. Next. Put the substrate in planters with soil. Or mix with leaves in the yard. Or till into your garden. Keep wet. You may grow a LOT more mushrooms.
How to Build a Better Growing Chamber/ Room/ Greenhouse
We will soon be giving a detailed look at our advanced home growing setup with humidity, temperature, and fresh air controls!